Inhalt
This tutorial is intended to be followed in sequence as if you were setting up a channel for the first time. It introduces some of the tools and features related to a personal channel in a natural way.
Create a new channel
When you log in for the first time after registering, you must create a channel. (Alternatively you can load https://grid.reticu.li/new_channel)
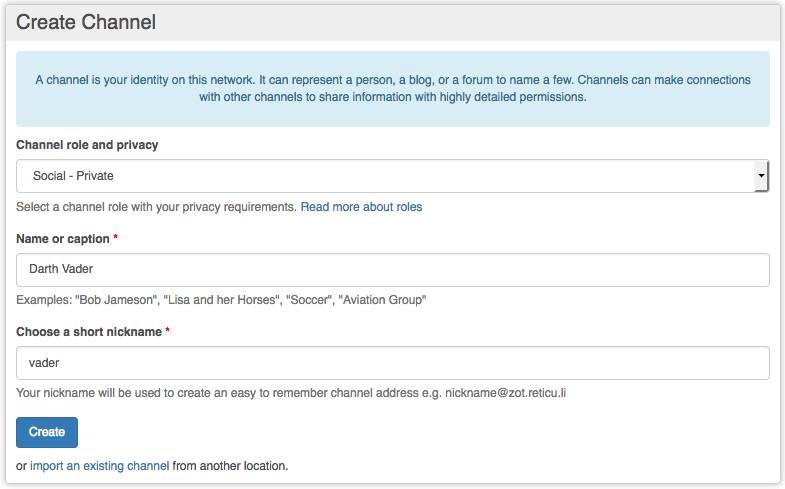
Enter your name and a nickname for the channel address, and select a "role". Typically if this is a personal channel that represents you, select a Social role with a level of default privacy that you are comfortable with. If you are unsure, select Social - Restricted.
Configure your channel features
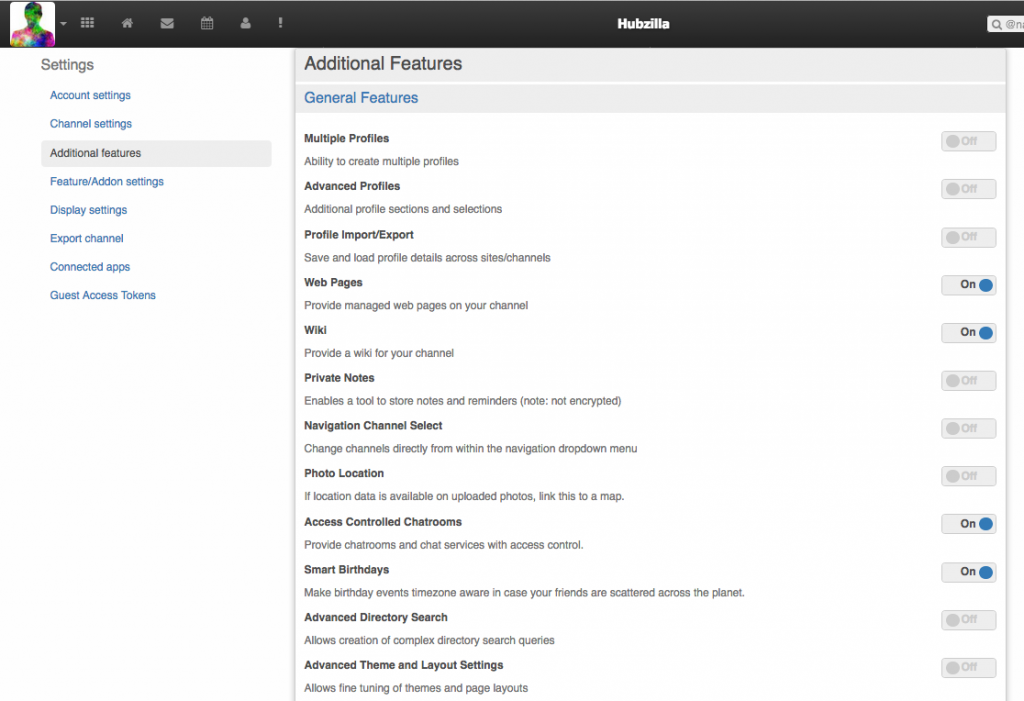
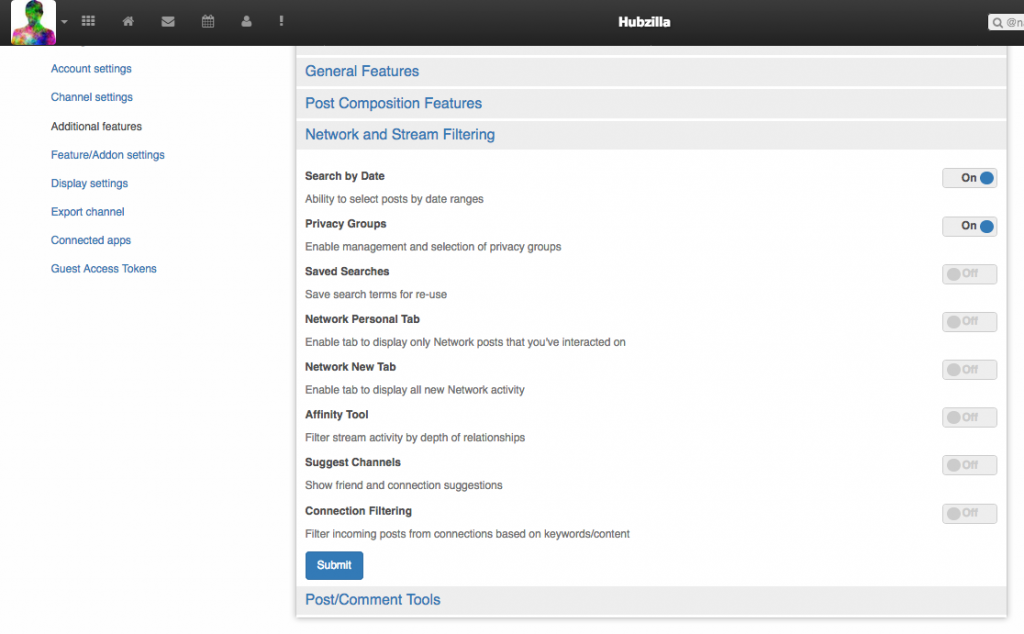
When your new channel is created you are directed to the channel settings page. Take the time to look around at all the settings pages to familiarize yourself with your options, even if you don't understand everything you see right now.
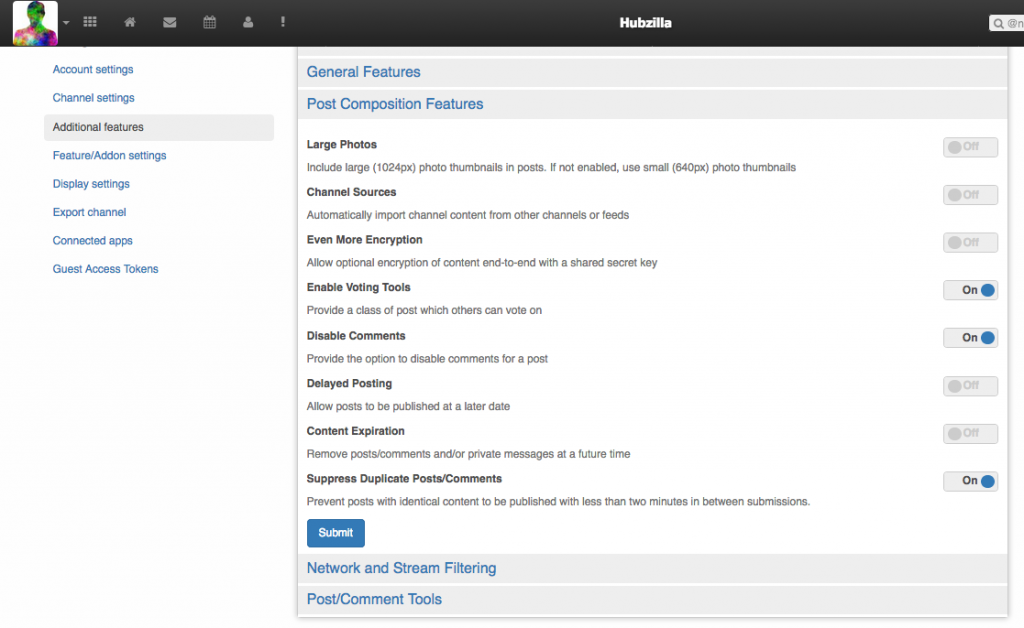
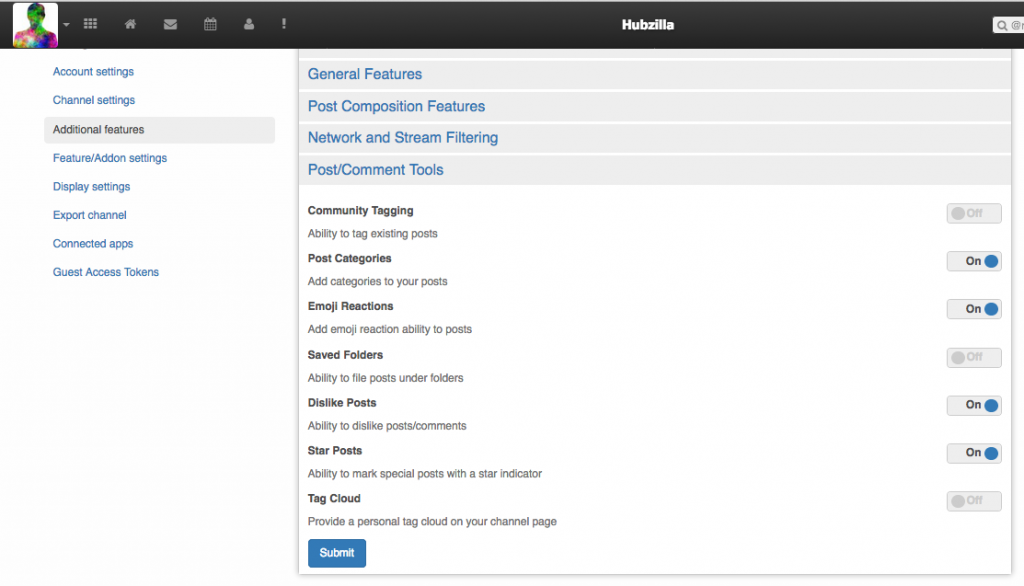
Navigate to the Additional Features settings and follow the screenshots below to enable various features. Remember to press the Submit button when you are done with your selections.
Add a profile photo
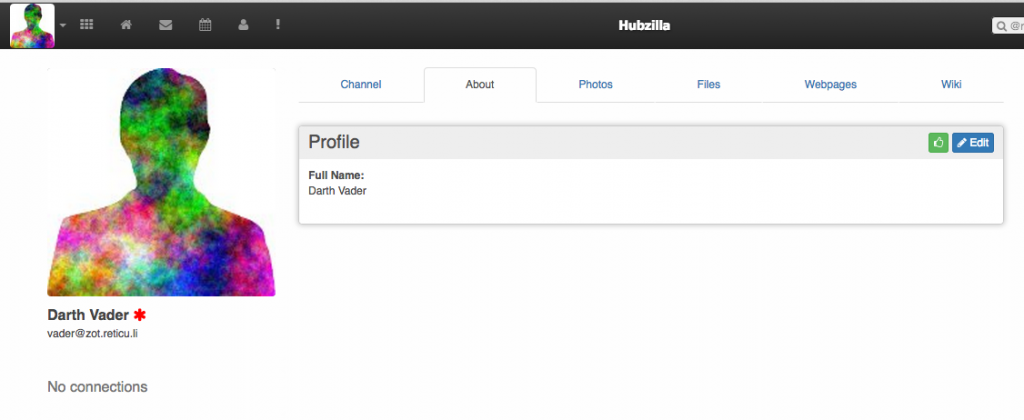
Navigate to your channel home by clicking the "Home" icon on the left side of the navbar, and then select the About tab to view your profile.
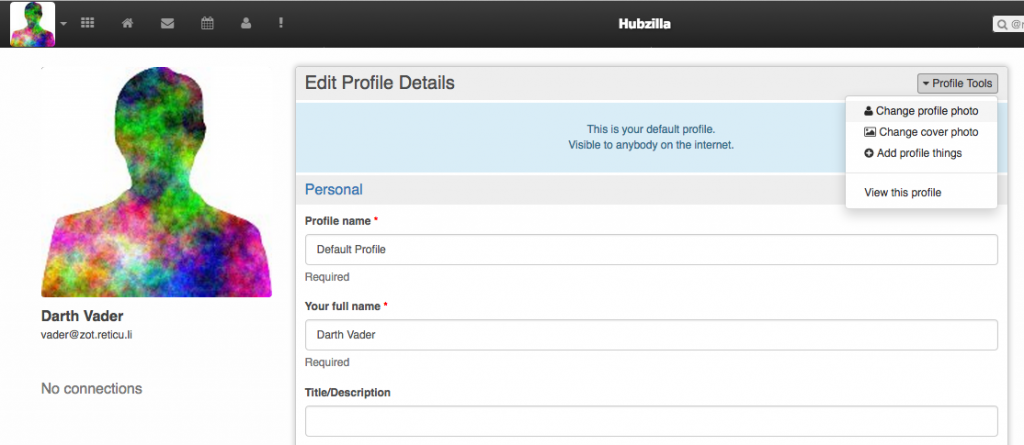
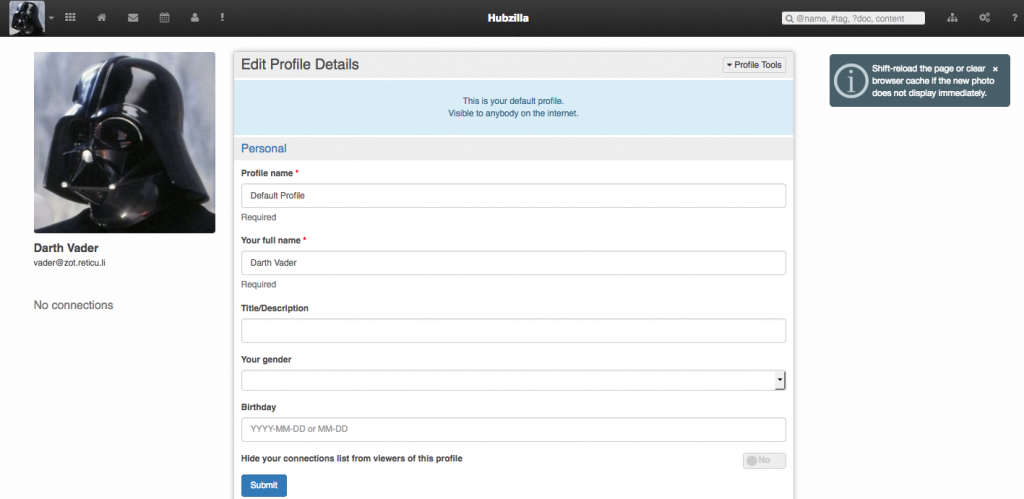
Press the Edit button on the right to edit your profile information.
From the Profile Tools dropdown menu, select the Change profile photo
Upload your photo and size as necessary using the image editor.
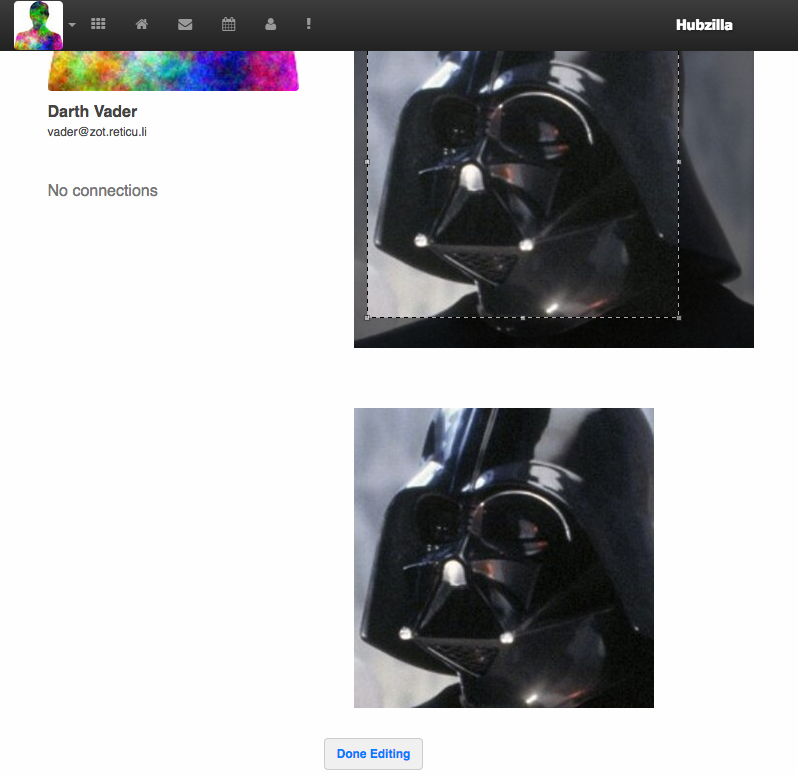
When you press Submit you will be redirected back to the profile editor. (You might need to clear your browser cache if you have trouble seeing the new photo.)
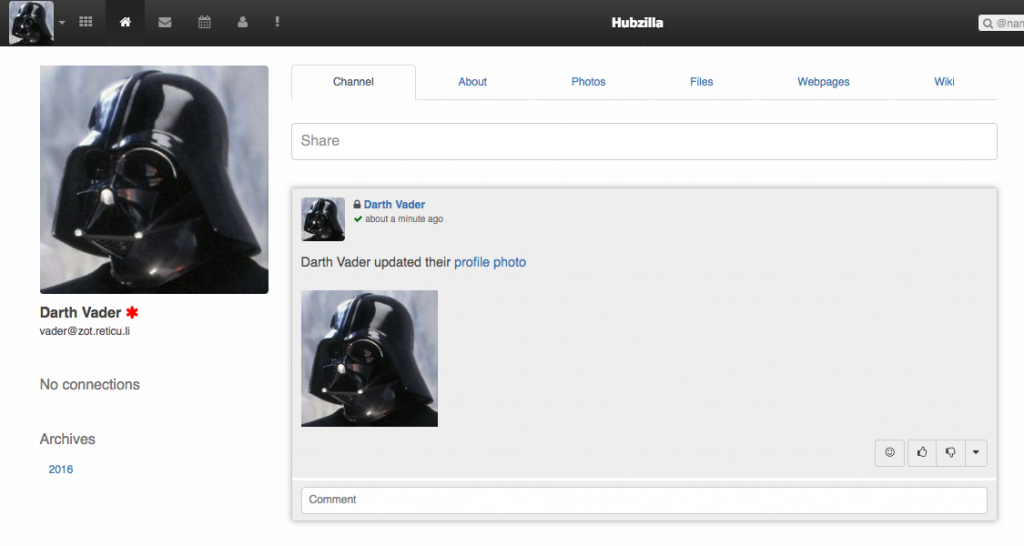
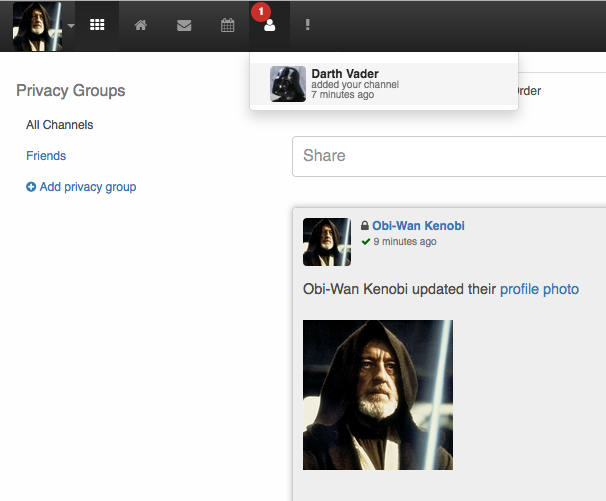
Returning to your channel home page you will see that a post notifying others of your new profile pic has been automatically posted.
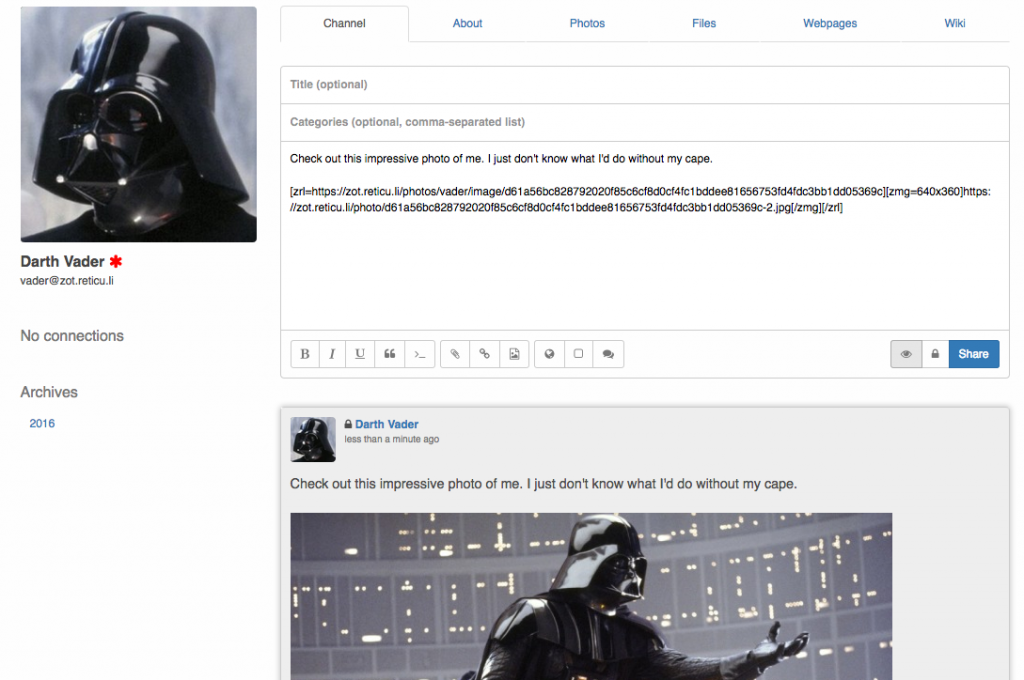
Compose a post
Go to your channel home and open the post editor by pressing the Share textbox at the top of the channel "wall". Enter a message, and then drag-and-drop an image file into the post editor text area (alternatively you can use the Attach file tool at the bottom).
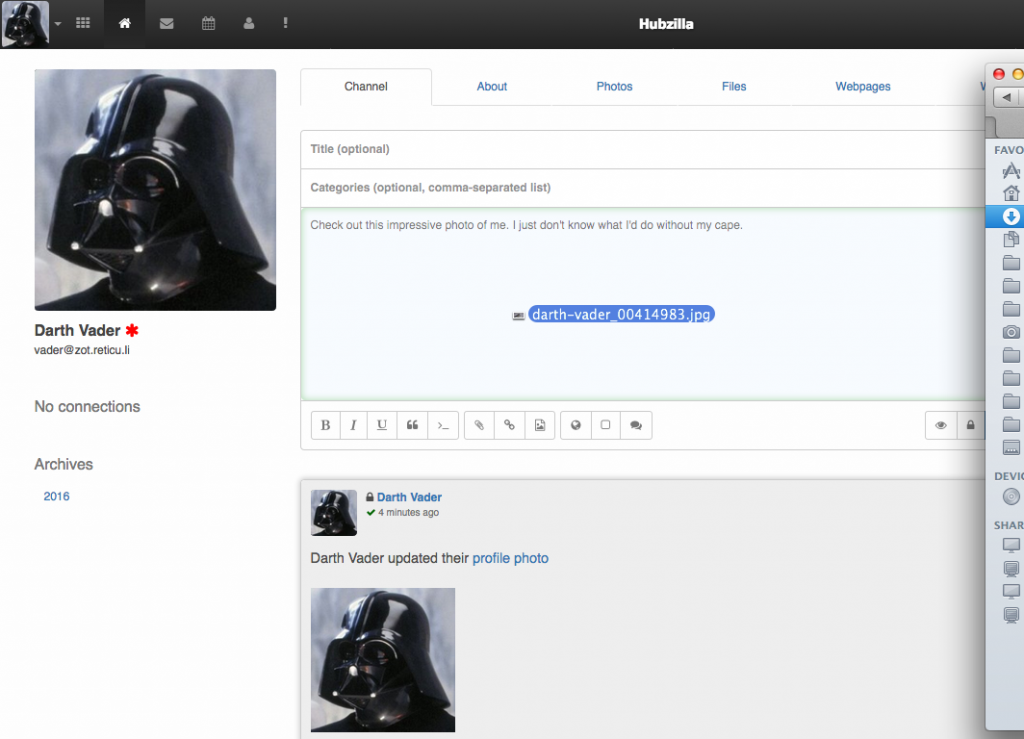
Your image file will be automatically uploaded and stored in your cloud files, and a link will appear in the post window. Pressing the post preview button will allow you to preview your post before publishing it.
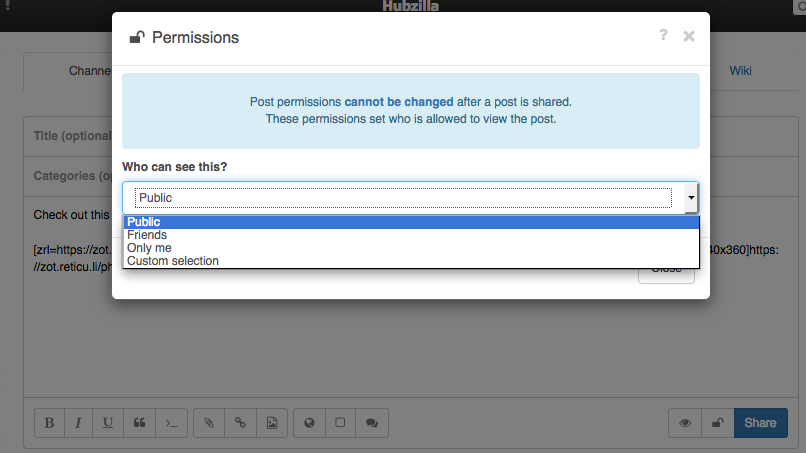
Pressing the lock button near the Submit button will open the Access Control List so you can specify exactly who can access this post.
Use an uploaded image as a channel cover photo
One way to add some pizzazz your channel is to add a cover photo that visitors will see when they load your channel page. Hubzilla's integrated cloud file system allows you to choose an existing photo for this purpose.
Visit your photos in the Photos app
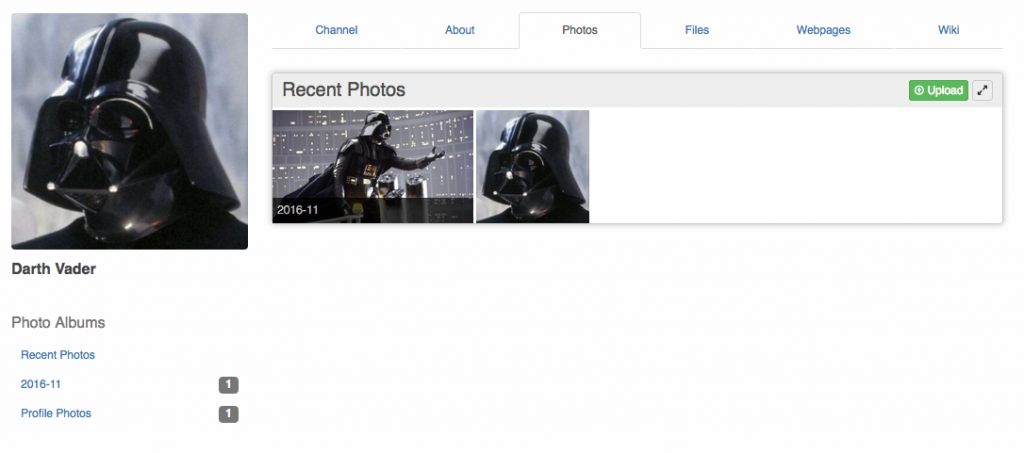
Select the photo you wish to use and select Use as cover photo from the Photo Tools dropdown menu.
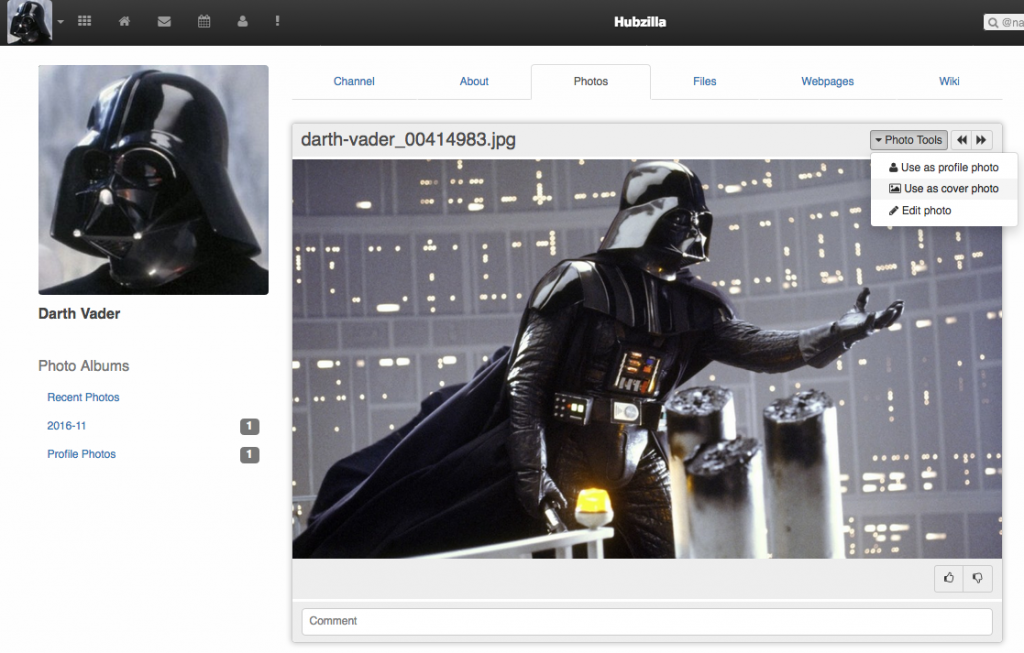
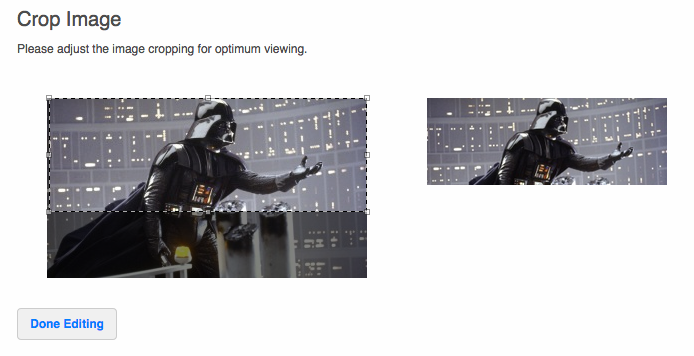
Crop the image using the photo editor and save your changes.
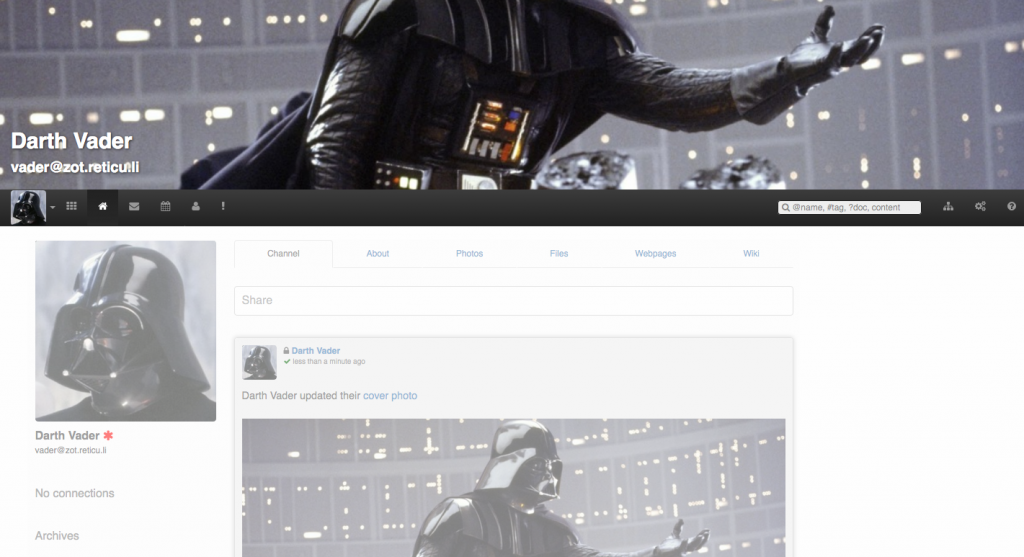
When you load your channel home page, you will first see the cover photo, and your channel page will fade in as you scroll down.
Make a connection
Making connections between channels to share things is what Hubzilla is all about. Making a connection is simple. If you do not already know how to reach a channel's home page, you might try a directory search by opening the Directory link on the right side of the top navbar.
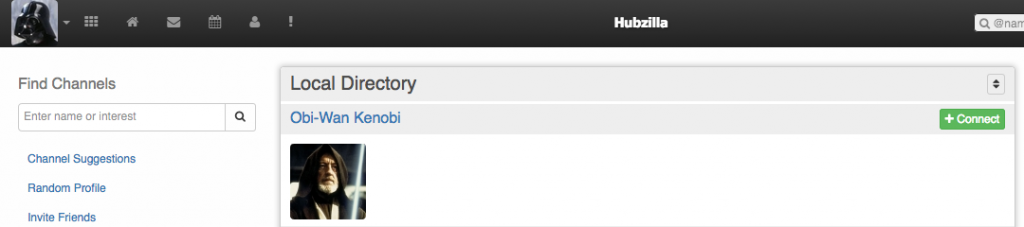
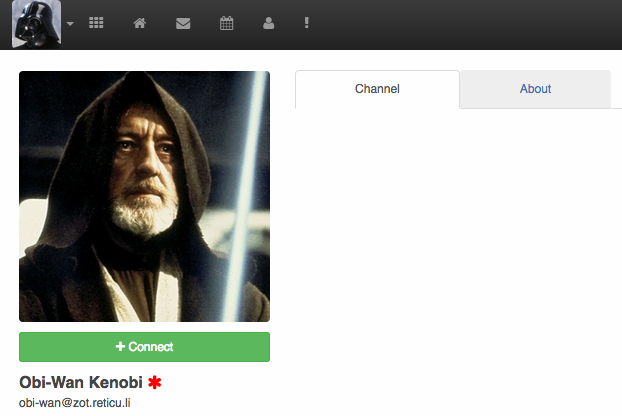
You can connect directly from the directory entry using the Connect button there, or you can open the channel page first and press the Connect button below the profile photo.
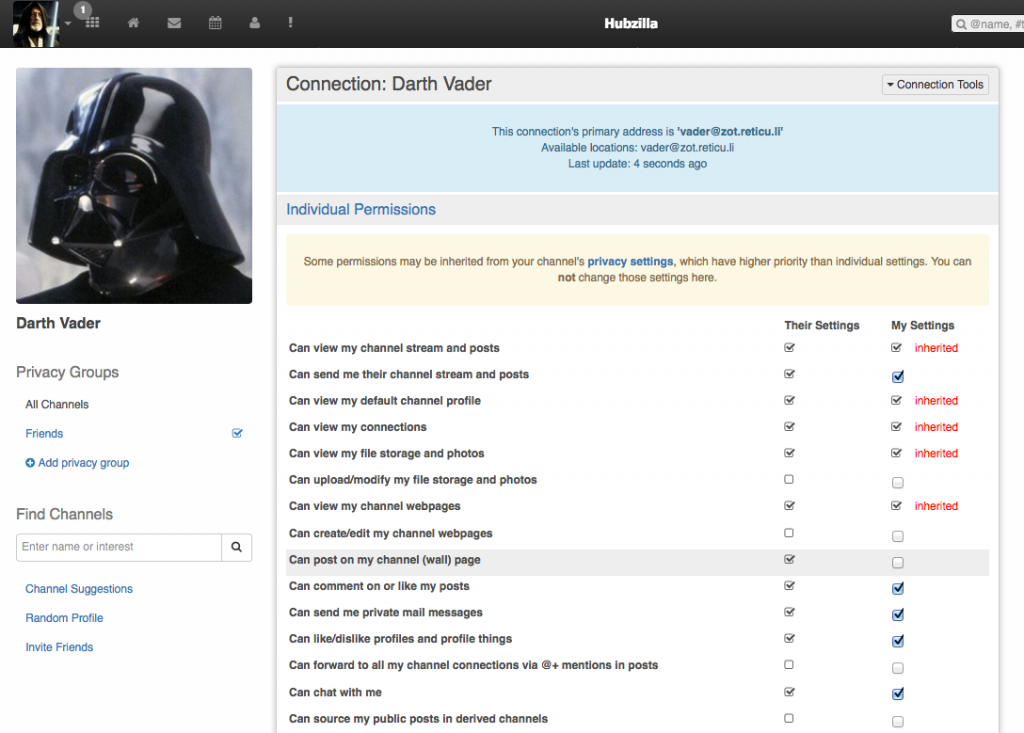
After you connect you are immediately taken to the connection editor page, where you make some important decisions about what you plan to share with this channel.
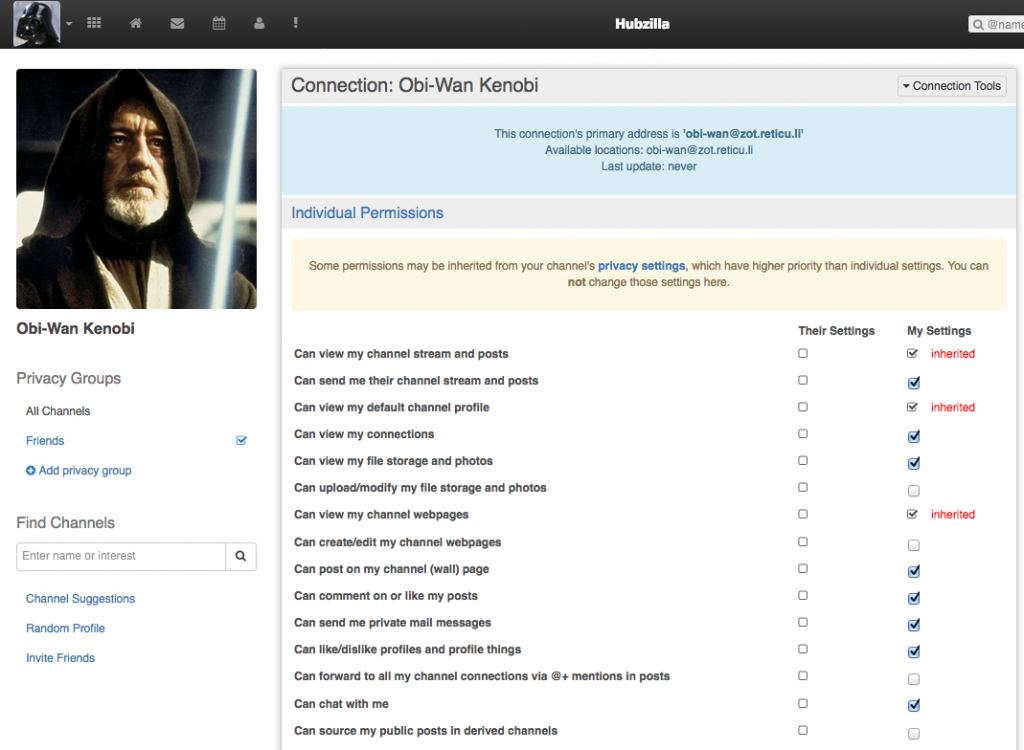
The two important settings are
- The individual permissions for the newly connected channel
- The privacy group(s) the connection is a member of
The individual permissions are mostly straightforward, but they can be slightly unclear at first. For example, Can view my file storage and photos does not mean that the connected channel will be able to view all of your photos and files! It means that you will have the option to share photos and files with that channel. It is perfectly possible for you to allow someone to read your posts but disallow them from seeing photos in that post. This kind of unusual situation is, as they say, not a bug; it is a feature.
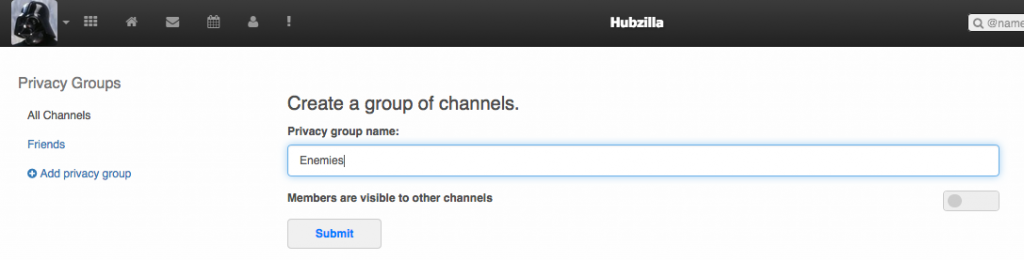
Privacy groups allow you to conveniently share items with groups of people. You can create whatever groups fit your needs by opening the Add privacy group link.
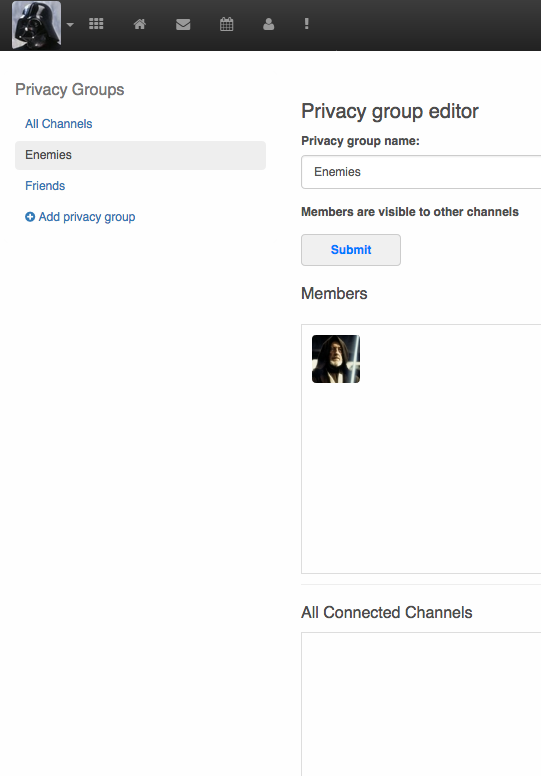
In this editor, you can switch between the existing privacy groups and see at a glance what channels are and are not members of the group. Selecting the icon of a channel in either box will move it to the in or out of the group.
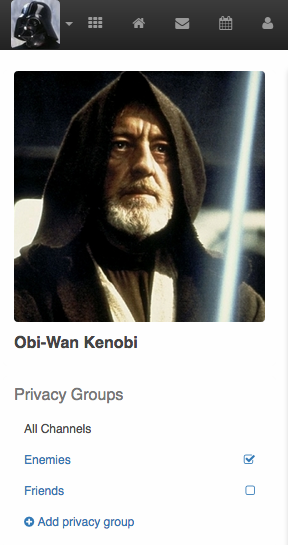
When editing an individual channel's settings, you can set their privacy group membership using the widget on the left:
Connections are a mutual engagement. The channel you connect can choose to approve your connection. They will receive a notification that you connected
which takes them to their Connections editor page where they can choose to approve the connection or not.
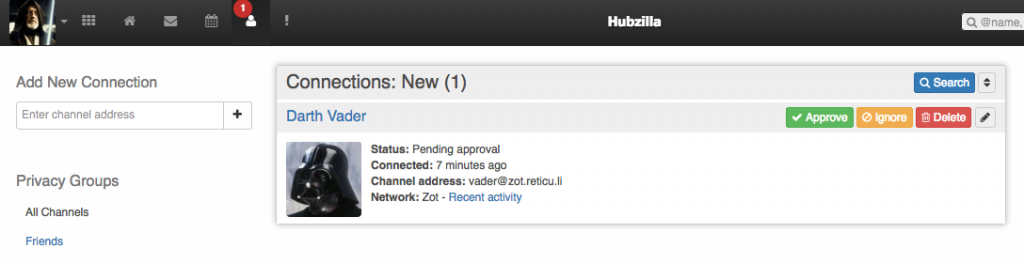
After you approve a connection, it is a good idea to open the individual connection editor by pressing the edit button beside the Delete button.